How to Use Google Drawings in the Classroom
The Google Drawings Manifesto for Teachers

Google Drawings is a blank slate for your students' creativity. Find lots of tips, tricks and teaching ideas in this post.
Google Drawings is the hidden gem in the core G Suite tools for education.
Everyone is familiar with Google Docs, Google Slides and Google Sheets. They correlate nicely with the Microsoft Office products we used for years and years.
Google Drawings doesn't fit into a nice, neat box like that.
Here it is in a nutshell:
Google Drawings is like a digital posterboard. (Or a big digital sheet of paper.) It has a few things you can add: text, images, shapes and lines. That's it, which makes the Google Drawings learning curve pretty low for students.
When you're done with Drawings, you can go to File > Download as … to save the file as an image file (JPEG or PNG) or a PDF file.
This powerful tool has lots of potential!
Below we'll show you:
Some of the sneaky features you might not know about
How students can create with it
How students can collaborate and think with it
Plus scroll down for TONS of Google Drawings resources!
What can you do with Google Drawings?
Plenty! Just by clicking and playing around with the main elements mentioned above gives you a pretty basic idea of what it can do. It's pretty intuitive; you and your students will get a grasp of it pretty quickly.
There are a handful of features that take Google Drawings to the next level:
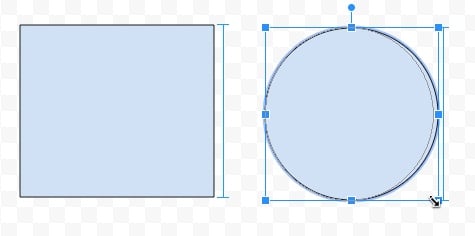
Equal size: When you create text, images or shapes, it's easy to make sure they're the same size. While resizing, these blue bracket lines show you which items are the same size horizontally or vertically.
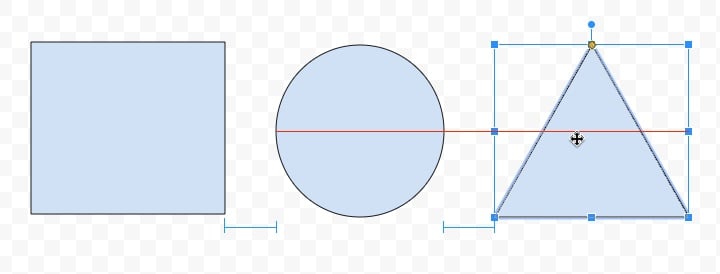
Equal spacing: Distributing everything equally makes your creations look nice and neat. The blue bracket lines also show you when spacing between items is equal.

Centering and lining up: That's what the red lines are for. As you move something around on the page, they'll show you what it's centered with or what it's lined up with on the edge.
Other sneaky features on Google Drawings:
- The nudge. When you click on something and move it with your arrow keys, that moves it five pixels at a time. (Let's call that "the scoot" -- scooting it over five pixels is a bit of a jump.) If you want to move something more precisely, use "the nudge". Hold in shift while you move with the arrow keys. That moves one pixel at a time. Very handy!
- Resize everything. When you highlight multiple items on the screen, you can resize them all at once. Say you have nine rectangles and you want to resize all of them equally. Highlight them all and use the little squares on the corners or edges to resize them all.
- If you want to resize everything proportionately, hold the shift key while you resize.
- Line everything up equally. Highlight multiple items on your screen and use the following commands:
- Arrange > Align vertically to line everything up top to bottom
- Arrange > Align horizontally to line everything up side to side
- Arrange > Center on page to bring your items to the midline of the drawing
- Arrange > Distribute to make the spacing between items equal
- Add images responsibly. When you add images with a laptop or Chromebook using Insert > Image > Search, you'll find images that Google has identified that can generally be used publicly. They're labeled "for commercial reuse with modification" and include Creative Commons images, images in the public domain and others. You still may want to verify you're using the image, ethically, though. Here are some details on that in a Google support page.
How can students use Google Drawings to create?
There's so much potential here. Because Google Drawings is like a blank slate, the possibilities for classroom implementation are limitless!
Idea 1: Interactive, multimedia posters.

Give the old poster project a new twist. Create them in Google Drawings instead. The benefits:
- Trade in markers for cool fonts
- Quit cutting pictures out of magazines and start adding digital images (see above)
- No glue sticks to put things on your poster
- No glitter mess all over your room!
The biggest benefit: You can add clickable links to these posters. Link to video, audio, images and interactive websites to make your poster an interactive, multimedia one.
Click here to see a post full of ideas about Google Drawings interactive posters.
Idea 2: Eye-catching infographics

Have you seen those tall infographics on Pinterest or other social media? They seem to be everywhere!
They're really easy to create with Google Drawings, and they can put a fun twist on gathering information and presenting it in your class.
Instead of doing a traditional essay or research report, consider creating an infographic instead!
Some hints for kicking them up to the next level:
- Use icons. TheNounProject.com has tons of icons you can use to illustrate your ideas in an infographic. Download the icon, give appropriate attribution and place it in your graphic.
- Add lines. I've started getting more and more creative with how I break up content with lines. In the button panel below (left to right), you can change the color of your line, change its size (width), change the type of line and change the start and end of the line. Sometimes, I'll add a four-pixel line next to a two-pixel line. Other times, I'll make a really big, bold, 24-pixel line. If you want to make lines bigger than that, create a rectangle shape and stretch it to the size of line you want.

- Stick to a couple fonts. Many times, I'll only use two or three fonts in an infographic: a big, bold one for headlines, a simple, easy-to-read one for text, and maybe a third to spice things up.
Check out this video for the how-to's and how it fits into the classroom.

Blackout poetry takes standard text (from a newspaper or magazine article … really any text you find). The artist then uses a marker and blacks out all of the words except for a select few, leaving a pithy piece of prose behind.
I was first introduced to blackout poetry by Austin Kleon, author of the books "Steal Like an Artist" and "Show Your Work".
You can do blackout poetry with Google Drawings, too! It's a fun way to look at text a little closer, to identify important words, and to remix something into your own creation.
Check out this video for the how-to's and how it fits into the classroom.
Click here for more ideas for using Google Drawings to create blackout poetry in the classroom.
Idea 5: Comic Strips
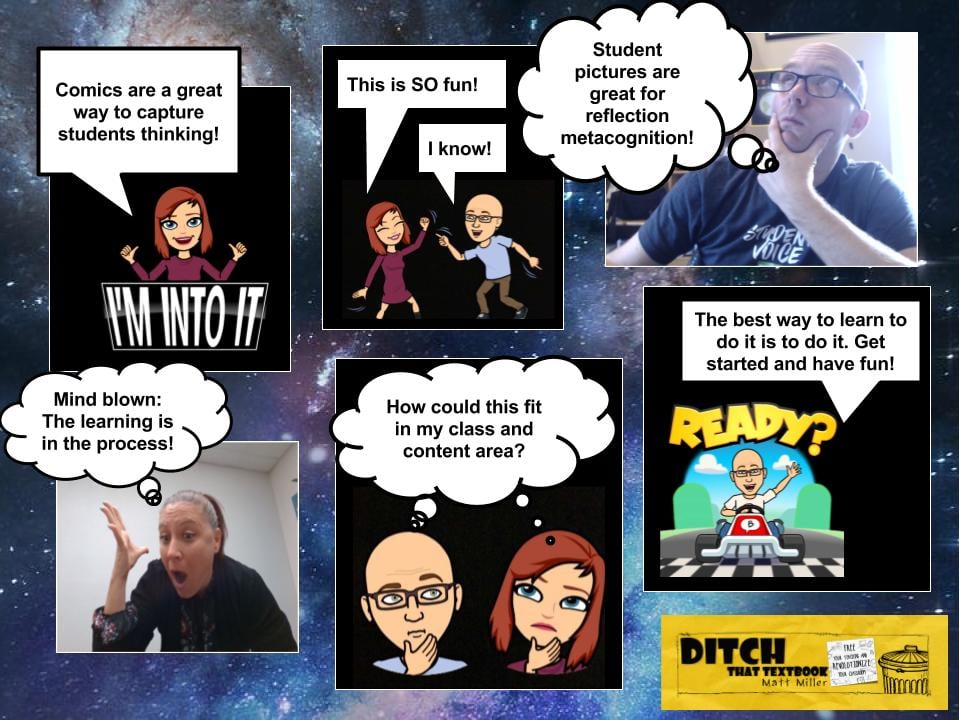
There is power in students having to go through the creative process. They need to synthesize their thinking in order to produce. Higher level thinking occurs when students create a non-linguistic representation of their ideas.
Plus, it lets students tap into their inner creativity — which is a fun and even effective practice in the classroom. Letting students pursue their creativity not only increases students' engagement in class but also empowers them to take ownership of their learning.
Google Drawings is a great medium for giving students this creative outlet. It lets them create a framework with shapes, add speech/thought bubbles, and insert images in one place!
Check out this video to see the making of a Google Drawing comic strip.
Click here for more ideas for adding Google Drawings comic strips to your class.
Idea 6: Create moveable digital activities
![]()
Giving students a space to make meaning, to make something out of pieces they're given, to describe their thinking visually by reorganizing — THAT'S better learning than a simple digital worksheet.
Moveable activity boards. Virtual manipulatives. Digital interactive activities.
Whatever they're called, Google Slides and Google Drawings were made for creating them. Create a background image, add the image to a slides presentation, create moveable icons with text and assign to students!
Check out this video for the how-to's and see how it fits into the classroom.
How can students use Google Drawings to collaborate and think?
The great thing about Google Drawings -- and most Google products -- is the ability to share. Use the blue "Share" button in the top right corner to give other people access to your drawings. Then they can jump in and view it, comment on it and/or edit it (depending on the sharing settings you create).
Idea 7: Do brain-friendly visual notetaking
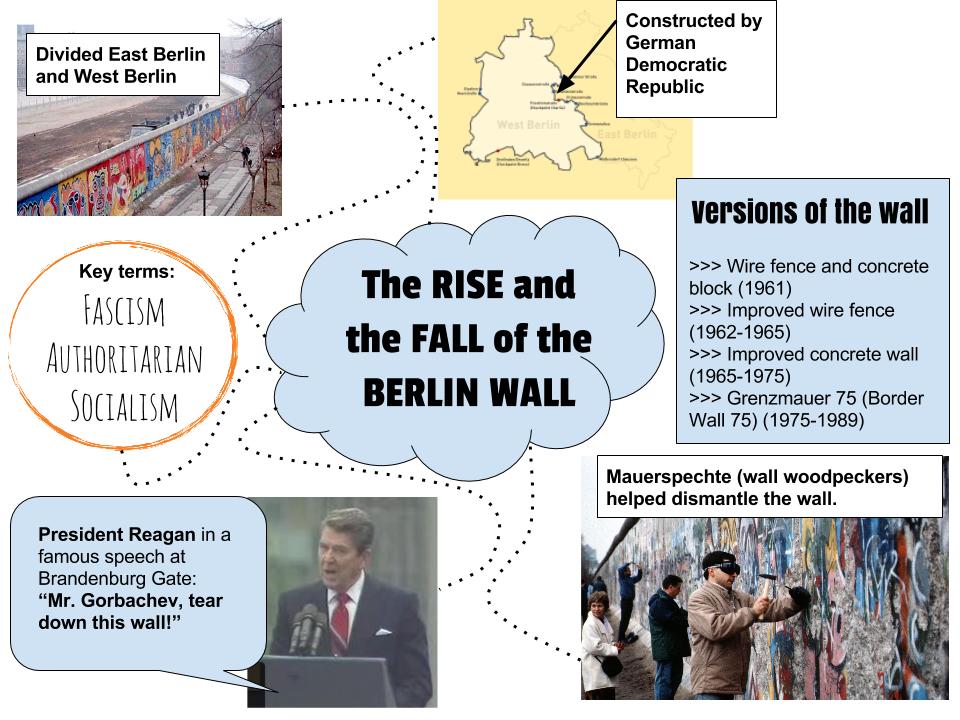
Our classes are often filled with words, but our brains do their thinking in pictures. They just have to convert words over to images before their work can begin.
Our brains also tend to remember more when we connect different types of input -- and a powerful combination is verbal and visual input. That means combining words and images. It's sticky learning at its best!
Google Drawings are made for visual notetaking:
- Pull in images with an image search inside Google Drawings.
- Draw things out with your mouse, touchpad or a touchscreen laptop/Chromebook with the scribble tool (found in the dropdown menu for the line tool)
- Bring in icons from TheNounProject.com (like we did in infographics)
- Draw something on paper and take a picture of it with your webcam using Insert > Image > Take a snapshot
Students can collaborate on their visual notes as well. (Two brains are better than one!) Just have students share a Google Drawing with their classmates and they can both work in the same digital space.

Understanding different viewpoints is also a great way to delve deeply into a topic. When students can take the place of the person in the image, it helps them see what's happening in a whole new light.
This activity requires more critical thinking than the first. By taking the character's perspective, students make an inference (deduce or conclude from evidence and reasoning rather than from explicit statements). Inferring is on the second level of Webb's Depth of Knowledge (skill/concept). We're adding more critical thinking here!
- Select a picture that either introduces your current lesson focus or is key to your subject for the lesson and let students caption it. You canadd the image to a Google Drawing and share it with students through Classroom OR, you can have students create a new Google Drawing and add the image themselves.
- Add a thought bubble or speech bubble.Give students a prompt for filling in the bubble, or give them freedom!
- When they're done, have studentsturn the image in to you via Google Classroom (or however you collect digital work).
Click here for more ideas for fun, deep-thinking Google Drawings activities.
Idea 9: Encourage deep thinking with graphic organizers
Many times, students need a little guidance in walking through a deep thought process. They're capable of doing deep thinking if we provide some concrete steps.
That's what makes graphic organizers great.
Google Drawings is a natural spot for creating and using graphic organizers. Use shapes, text boxes and lines to draw out your own graphic organizers.
When you're done, share them with your students! There are a couple ways:
- Share them via Google Classroom. Attach them to an assignment and choose the "Make a copy for each student" option in the dropdown menu to the right of the attachment. That way, each student will have his/her own copy of the graphic organizer to write on.
- Use the /copy trick. When you get a link to a Google document, slide presentation or something else, often the URL has "/edit" at the end. Try this: delete the word edit (and anything else after it) and type the word "copy" instead. It'll change from this:
https://docs.google.com/drawings/d/169dDturzudjUhhGfQZc8SuazlhPTJYhq6r7qs8D_vIo/edit
... to this:
https://docs.google.com/drawings/d/169dDturzudjUhhGfQZc8SuazlhPTJYhq6r7qs8D_vIo/copy
When students call up the second link with the word copy in it, it'll prompt them to make a copy of the file. - Share a "view" link with them. Click the "Share" button and click "Get shareable link". Choose "Anyone with the link can view." Give students that link and ask them to go to File > Make a copy. That will make a copy into their own Google Drives.
Don't want to make your own graphic organizers? I have you covered. I've created more than 15 graphic organizers in Google Drawings that you can copy and use. That way, you don't have to reinvent the wheel!
Click here to see all of those Google Drawings graphic organizers and how to make your own.
Google Drawings Templates
Finding the perfect activity for our class can be difficult because every class, and every student, is unique. Templates give us a starting point and allow us to create a lesson or activity that is just right for our class.


TONS of Google Drawings ideas!
Infographics are visually stimulating and force us to summarize well. These brain-friendly student creations can be a great change of ...
Making Mosaic Art with Google Drawings is a fun way to get kids creating in the classroom. Here are the ...
Using Google Drawings to create graphic organizers can help students gather their thoughts and customize to their needs.Sometimes, we just ...
Blackout poetry takes standard text (from a newspaper or magazine article ... really any text you find). The artist then ...

Posters. Advertisements. Graphic organizers. Comic strips. Image annotations. Flyers. Google Drawings is like your digital poster board -- or a ...
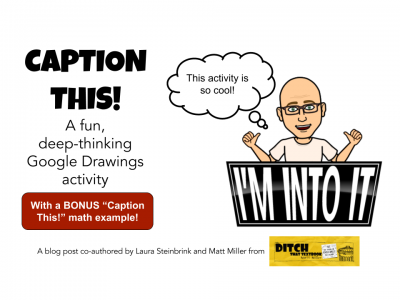
This post is co-authored by Ditch That Textbook's Matt Miller and Laura Steinbrink. Laura is a high school English teacher ...
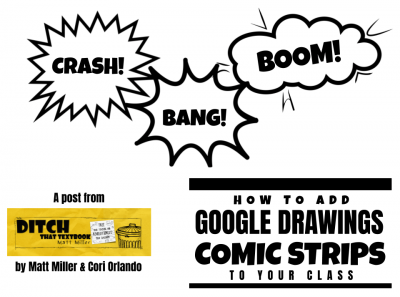
Comic strips captivated us as children. Tap into that energy in the classroom with Google Drawings comic strips! Here's how. ...

Interactive, moveable activities in G Suite can be easy to create — and can promote deep thinking. A teacher sent ...

Forget the glue sticks, markers and magazines to cut for pictures. Create interactive posters with Google Drawings with links and ...
Even more Google Drawings resources!
Looking for even MORE Google Drawings goodies? Check out our collection of videos and podcasts all about ... you guessed it ... Google Drawings!
Blackout poetry takes standard text (from a newspaper or magazine article ... really any text you find). The artist then uses a marker and blacks out all of the words except for a select few, leaving a pithy piece of prose behind. You can do blackout poetry with Google Drawings, too! Check out this video for the how-to's and how it fits into the classroom.
Want to infuse a lesson in the classroom with student-created animation?
Google Drawings is such an easy way to put your ideas into motion on the screen. In this video, you'll learn how to create your own animation INCLUDING the fun extra features you can add to it, how to present it AND how it can be used in the classroom.
Watch the creation of a Google Drawings infographic in 90 seconds (with TheNounProject.com icons).
Watch a Google Drawings comic strip come to life in 90 seconds!

How to Use Google Drawings in the Classroom
Source: https://ditchthattextbook.com/the-google-drawings-manifesto-for-teachers/